
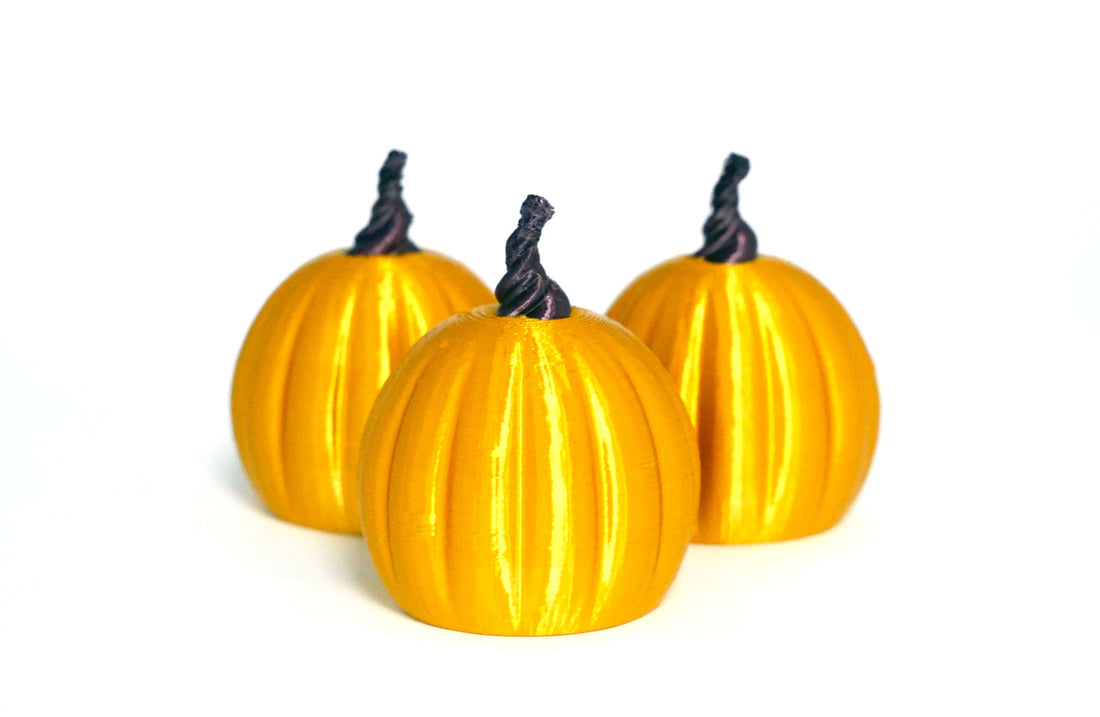
It’s nearly Halloween! This year, we’re running a pumpkin carving contest with a twist – you have to do it with CAD and 3D printing.
Here’s how it works: we provide the base CAD model, you customise it with your own designs, 3D print it, and show us and the 3D printing community what you’ve done.
This time, 3D printing community champion Allie of Geeky Faye Art has kindly agreed to help us pick the winner.
About Geeky Faye Art
Whether digital painting, 3D printing, or even cosplaying, you can bet Allie will use tech to create it. They’re part of the venn diagram where analog meets digital. It’s their mission to make the maker scene a safe space for artsy, nerdy, curious folks to share their love of creating and let their geek flag fly.

What can I win?
The lucky winner of this competition will receive a fully loaded RapidChange™ Revo™ set when it launches. That’s your choice of:
- A Revo Micro. An ultra-light anodised black aluminium heatsink with M12 mounting thread and Nylon securing nut.

Each RapidChange nozzle is made of brass. A set has 0.25, 0.4, 0.6, and 0.8mm extrusion widths
- A Revo Six. A V6 style anodised black aluminium heatsink with groove mounting, perfect for updating an existing E3D V6 setup.

Perfect for updating an E3D V6 setup
- A Revo Hemera. A Hemera with a RapidChange-compatible sink – that’s an extruder and HotEnd in one, with the power of RapidChanging!

A powerful 3D printing extrusion setup with all the benefits of RapidChange
Plus:
- A Revo HeaterCore. Our latest HeaterCore which heats up really fast and doesn’t melt or burn your house down in the event of a thermal runaway.
- A set of RapidChange Nozzles. Brass 0.25, 0.4, 0.6, 0.8mm – and because your machine will be fitted with a RapidChange-ready HotEnd, it will be really easy to fit more nozzles later as we release them!
RapidChange Revo works with all kinds of popular 3D printers, like Prusa, Creality, Artillery, AnyCubic, and more. Just mount it and wire it in, and you’re ready to 3D print and swap nozzles without using tools or hot tightening ever again!!
Design brief
- 3D print a pumpkin with your own custom carvings. We’ll provide base models and you customise them in any way you like.
- If you’re a CAD pro, you can go one step further and design your own pumpkin from scratch with custom carvings.
- Your pumpkin must use FFF 3D printing at some point in the process – but you can incorporate other processes and techniques, like mould making, resin printing, painting etc.
- A number of STEP and STL files are provided at the Thangs link below.
- A short guide is available at the end of this blog that shows you how to carve into your virtual pumpkin using Fusion 360.
What will my entry be judged on?
- Design creativity
- Process creativity
- Final quality
- How much it impresses us
- How much it makes us laugh
Rules
- Modify one of our pumpkin base models. If you want to show off your CAD skills and design a pumpkin from scratch, go ahead and design one using software of your choice – don’t forget to tell us which software you used.
- Modify the pumpkin however you like. You can do this in CAD or after you’ve 3D printed it – be as creative as you like, but no NSFW stuff please!
- Your pumpkin must use FFF 3D printing at some point in the process – but you can incorporate other processes and techniques, like mould making, resin printing, painting etc.
- Size doesn’t matter. Big or small pumpkins welcome. Bonus points for really, really big ones, or really, really tiny ones that use fine extrusion widths.
- Multi-material 3D prints are encouraged!
- Make as many entries as you like, but please try to vary them as much as possible
- Please pimp your pumpkin responsibly! We DO NOT recommend putting an open flame inside them. Try not to set anything on fire – you won’t win if it is set on fire. We can’t be held responsible for any accidents you encounter during your pumpkin antics.
- Don’t steal the work of other hardworking 3D artists – if you don’t plan to work from one of our base models, please make your own from scratch. Respect the work of 3D artists! We don’t want half the models to be the same artist’s 3D model that’s been plagiarised hundreds of times without any credit to them.
Entry deadline: 28/10/21 11:59 BST
Winner announced: 31/10/21 18:00 BST (Halloween!)
Questions? We have a dedicated Discord channel you can post in if anything’s unclear. We’ll be accepting entries on this channel, too!
How do I enter?
Tag @E3Donline and use the hashtag #E3DPumpkin with a picture of your final product on our social channels. That's Twitter, Facebook, Discord, and Instagram. Include the name you have given your creation and the process of how you made it.
Example:
“E3D multi-material pumpkin
I remixed the E3D mini pumpkin model to include the E3D Logo, and modified it specifically for Multimaterial printing so I could print it on my E3D Hemera Toolchanger.”

How to carve your pumpkin with Fusion 360
Fusion 360 is a good option as it’s available for Windows and Mac and has a 30-day free trial.
Carving your pumpkin can be achieved in several ways – this is a simple method to get you started.
First, download the ‘E3D Pumpkin with Lid.STEP’ version of the model.

File > Open > Open from my computer
Head to your downloads and open up the ‘E3D Pumpkin (with Lid)’ model.

You should now be greeted with this very plain looking pumpkin. Let’s carve something into it!

Go to CONSTRUCT > Offset Plane in the top menu.

Click on one of the planes.
(Don’t click the bottom plane unless you want to cut something into the bottom of the pumpkin)

Type 120mm into the dimension field that appears.
This should create a plane on the outside of the Pumpkin which we will use to create our cut.

Go to CREATE > Create Sketch in the top menu.

Use the Sketch Tools to draw your design.
When finished, hit FINISH SKETCH in the top right-hand corner.

BONUS STEP: Create more complex designs by inserting SVGs directly into the sketch.
With your sketch open, go to INSERT > Insert SVG in the top menu.
You may need to scale the imported SVG if you go this route.

With your design finished, go to CREATE > Extrude.

The Extrude menu should pop-up.
Click on the Profiles selector and select the areas that you want cut into the model.
Direction should be set to ‘One Side’.
Extent Type should be set to ‘Distance’.
Distance should be set to ‘–120mm'. If you want the same design on both sides, you can change this to ‘–240’.
Taper Angle should be 0.
Operation needs to be set to ‘Cut’.
And finally, you must select the Pumpkin as the object to cut.

This same set of steps can be repeated on all 4 sides of the pumpkin if you want to add more detail.
Printing your creation
To print your creation, we need to export each piece into a separate STL file.

Right click on the body you want to export in the tree on the left. Click on ‘Save As Mesh’.

Make sure the Format is set to ‘STL (Binary)’ and the units are in ‘Millimetre’.
Refinement should be set at high. Click ‘OK’ and save it to your computer.
Repeat for each of the three parts of the model.
NOTE: The base model design has been optimised to be printed without support material, but after you carve in your design you may find you need to use supports for best results.
Show us your pumpkins!